
User’s Guide and New Features in Version 8
System Requirements
macOS 11 or later; Apple Silicon or Intel computer
Introduction
ContactPage Pro lets you quickly create professional-looking contact sheets, image catalogs, photo books, portfolios, and other picture layouts with descriptive captions. Its intuitive interface makes it easy to build custom image collections for print or digital output.
You can fully customize your document by choosing the page size, margins, background, image frame size, shape, colors, and many other layout options. Captions are highly flexible and can display information such as the file name, image dimensions, color model, EXIF metadata, and much more.
ContactPage Pro supports both Auto-Flow and Embedded images, giving you the flexibility to create fully automatic contact sheets or custom layouts with manually positioned images. Documents and templates can be saved and reopened at any time, preserving all layout settings, captions, and references to the original image files.
Whether you’re creating a quick proof sheet or a polished presentation, ContactPage Pro provides powerful tools for importing, organizing, editing, printing, and exporting your image collections.
Creating, Opening and Saving Documents or Templates
With ContactPage Pro 8, you can create documents that can be saved to disk and reopened later, retaining all page settings, images, captions, and layout information.
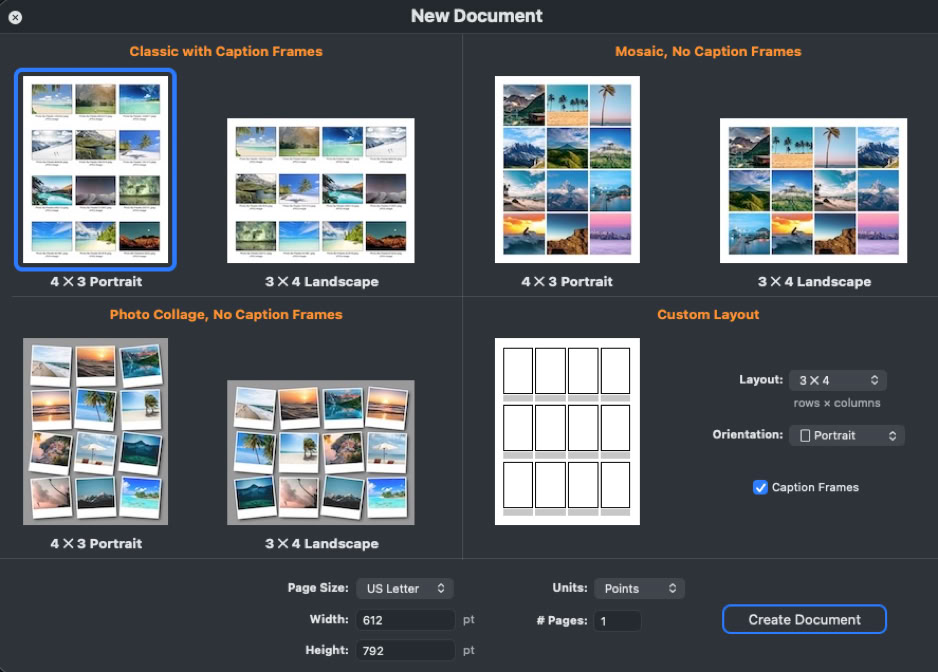
Choose File > New or click the + button at the top of the canvas window to create a new document. The startup screen lets you choose from several common document configurations and adjust the main settings, such as page size, layout, and number of pages. These settings can all be changed later if desired.
Choose File > Open to open a ContactPage Pro 7 or 8 document or template. You can have up to five documents open at the same time.
Choose File > Open Recent to quickly reopen recently used documents.
Use File > Save or File > Save As to save the current document. You can save it either as a ContactPage Pro 8 Document or a ContactPage Pro 8 Template. Templates store the document layout and page settings, but not the images or captions.
ContactPage Pro 8 saves all the current layout settings for the contact sheet, captions, and references to the images files.
ContactPage Pro 8 New Document Startup Screen.
Auto-Flow List
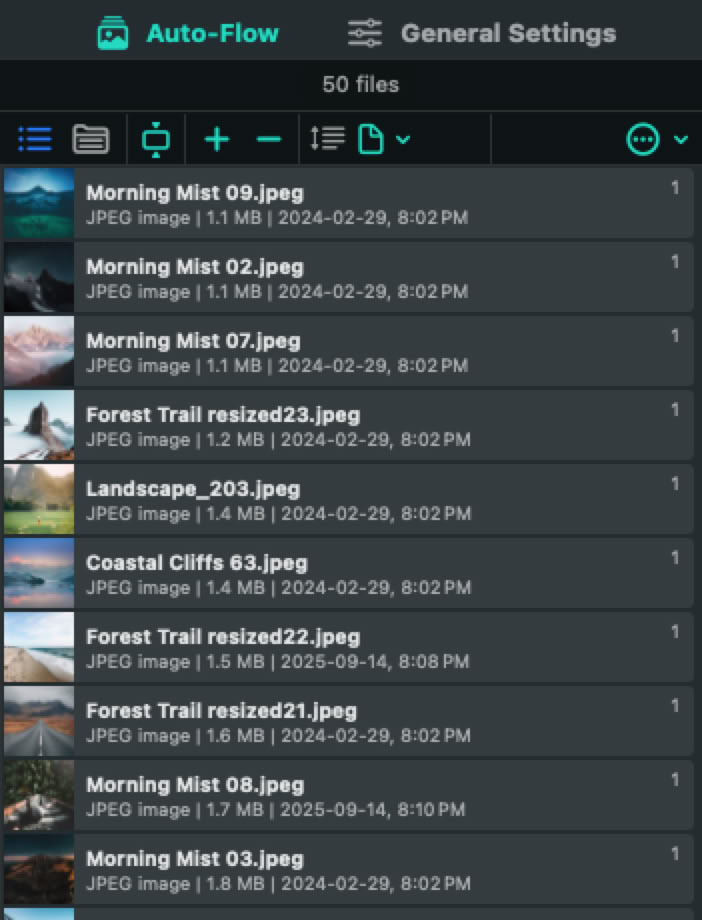
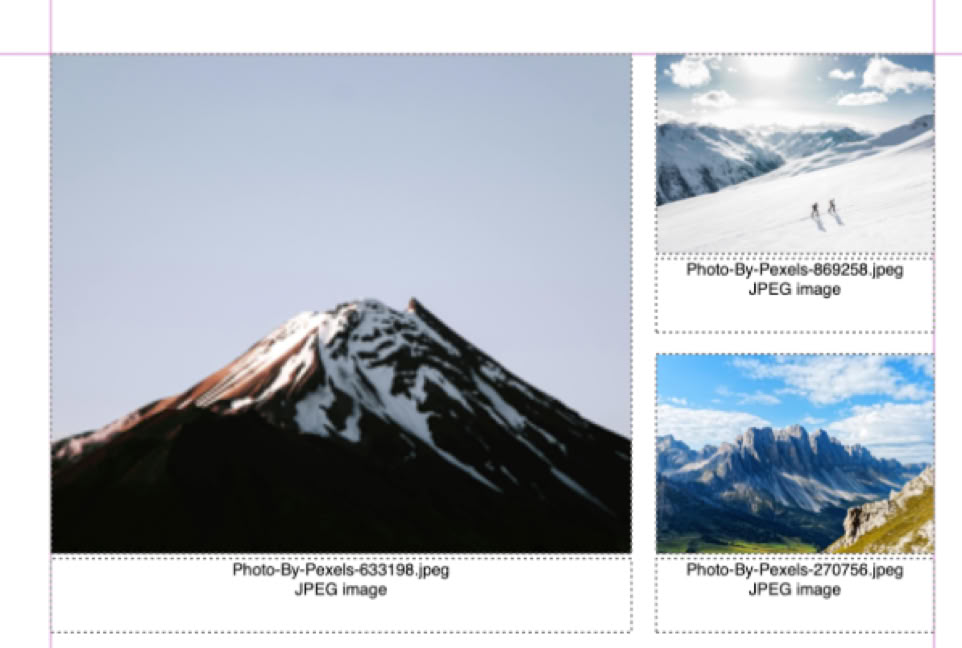
The Auto-Flow list contains the images that automatically fill the available image frames in your document, in the same order as they appear in the list. You can add, remove, sort, or rearrange images at any time, and your changes are immediately reflected in the document.
To add images, simply drag files or folders from the Finder into the Auto-Flow list, or click the + button to open the standard macOS Open dialog. See Application Settings below to choose whether to include images in subfolders, import all files or only image files, and automatically add pages to fit all imported images.
The Auto-Flow list displays each image’s name, icon, file size, file type, last modified date, and the page where it appears in the document. Images that do not fit in the current document are marked with a red diamond.
The Auto-Flow list contains the images that will be automatically placed in the empty image frames, in the same order as they are shown within the list.
Embedded Images
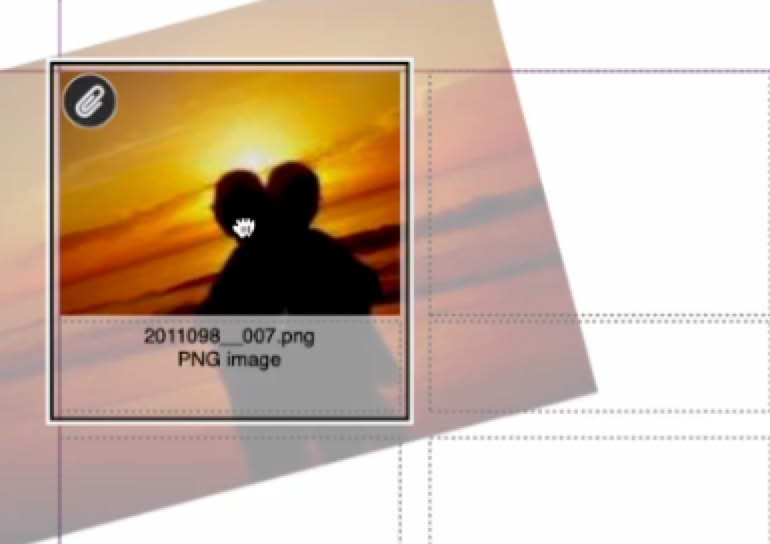
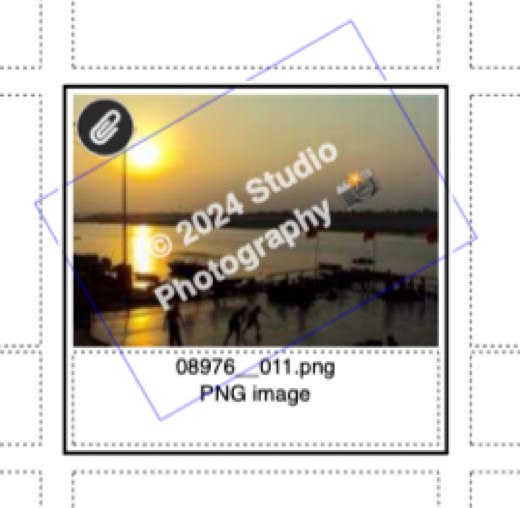
An Embedded image is placed directly into the document and remains fixed in its position. Unlike Auto-Flow images, which are automatically arranged and reflowed, an Embedded image remains exactly where you placed it.
Embedded images are identified in the document preview by a paper clip marker
There are five ways to place Embedded images into the document:
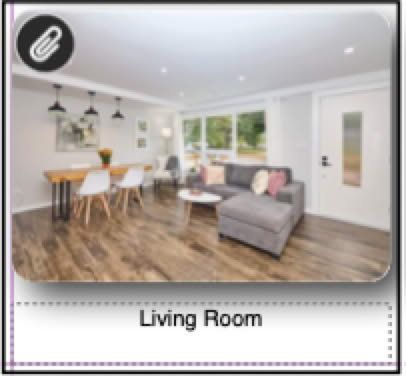
An Embedded image.
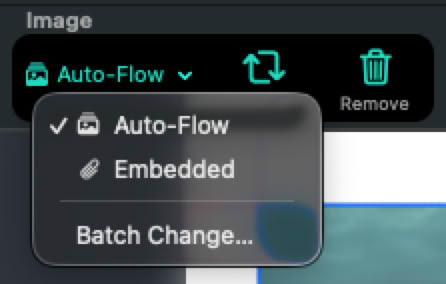
Image Type pop-up in the Control Bar.
Skipping Cells
A Skipped cell is a grid cell that is ignored when exporting or printing the document. In other words, it creates an empty space in the layout. Auto-Flow images automatically skip these cells and continue with the next available grid cell.
Skipped cells are identified in the document preview by a skip marker ➡️.
You cannot place an image or add a caption to a skipped cell. In addition, grid cells containing Embedded images cannot be skipped.
Skipped cells are ignored
when exporting or printing.
Row and Column Spanning
Individual grid cells can be expanded to the right across additional columns or downward across additional rows, provided additional rows or columns are available on the current page. When you increase a cell’s Column Span or Row Span, the cell grows to occupy the selected columns or rows.
The values shown under Column Span and Row Span indicate how many additional columns or rows the selected cell occupies. You can reduce the span at any time to return the cell to its original size.
A grid cell cannot be expanded into rows or columns that are already occupied by an Embedded image or another spanned cell. In addition, grid cells cannot be spanned across pages.
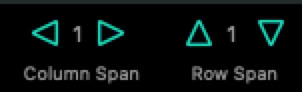
Use the Row Span and Column Span controls in the Control Bar to resize individual grid cells
Manual Image Positioning
By default, ContactPage Pro 8 places each image using Auto positioning. In this mode, images are placed within their image frames according to the Auto Positioning settings under General Settings, where you can specify the scaling method (Fit, Fill, Stretch, etc.) and alignment (Top Left, Center, etc.).
For greater flexibility, you can switch any image to Manual positioning. This allows you to adjust its offset, scale, rotation angle, and horizontal flip independently. Manual positioning is available for both Auto-Flow and Embedded images.
With Manual positioning enabled, simply drag an image in the document preview to reposition or crop it as desired. You can also adjust its scale, rotation angle, and horizontal flip using the controls in the Control Bar, or the Image menu.
To change the positioning mode for multiple images at once, choose Batch Change from the positioning pop-up menu in the Control Bar. You can apply the change to the current page or the entire document.

Use Manual positioning to adjust the position, rotation, scale, or horizontal flip of individual images. You can also drag an image with the mouse to reposition it within its image frame.
Editable Captions
When your document includes caption frames (General Settings > Layout > Add Caption Frames), ContactPage Pro 8 creates captions for each image using the Auto caption type by default. In this mode, captions are generated using the tokens and custom text defined under Automatic Captions (General Settings > Auto Captions).
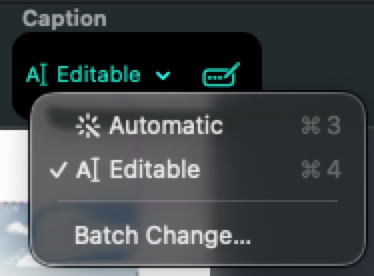
To customize an individual caption, change its Caption Type to Editable using the Control Bar. Then click the Edit button [✎] to modify the caption. You can also start editing the caption directly in the Edit Caption popover, and ContactPage Pro will automatically change its type to Editable.
Editable captions let you enter any custom text, including emojis and special characters, or remove the caption entirely for a particular image. Only the caption text can be edited; its formatting continues to be controlled by the document settings (General Settings > Text Formats).
To change the caption type for multiple cells at once, choose Batch Change from the Caption Type pop-up menu in the Control Bar.
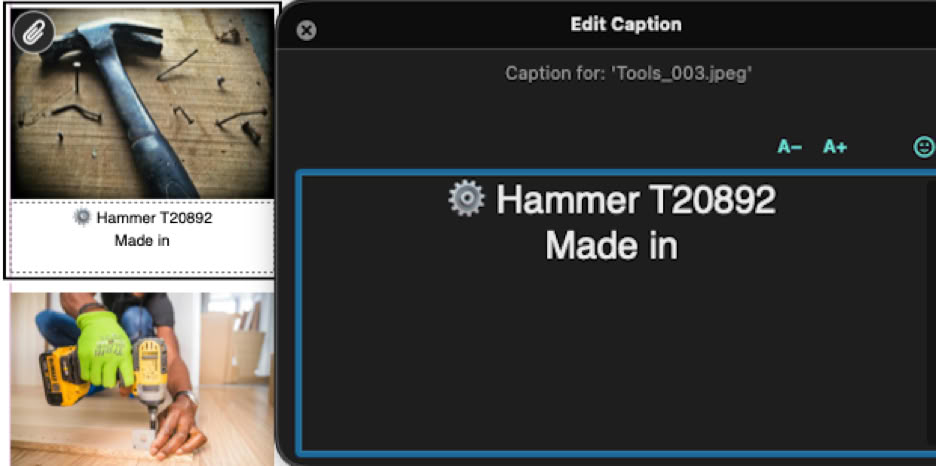
Editing an individual image caption.
Loaded Cursor
The Loaded Cursor lets you place multiple images exactly where you want them in the document. Unlike Auto-Flow, where images are arranged automatically, the Loaded Cursor allows you to place each image individually by clicking the desired grid cell.
To activate the Loaded Cursor, choose Place and Embed Multiple from the Image menu or the contextual menu, or drag multiple images or folders from the Finder directly onto the document preview.
A preview of the next image to be placed is displayed next to the cursor, together with the number of remaining images in the queue. Press Esc or right-click at any time to cancel the placement operation.
Click an empty grid cell to place the next image. If the selected cell already contains an Embedded image, it is replaced. If it contains an Auto-Flow image, that image is automatically moved to the next available grid cell, and the contact sheet is reflowed.
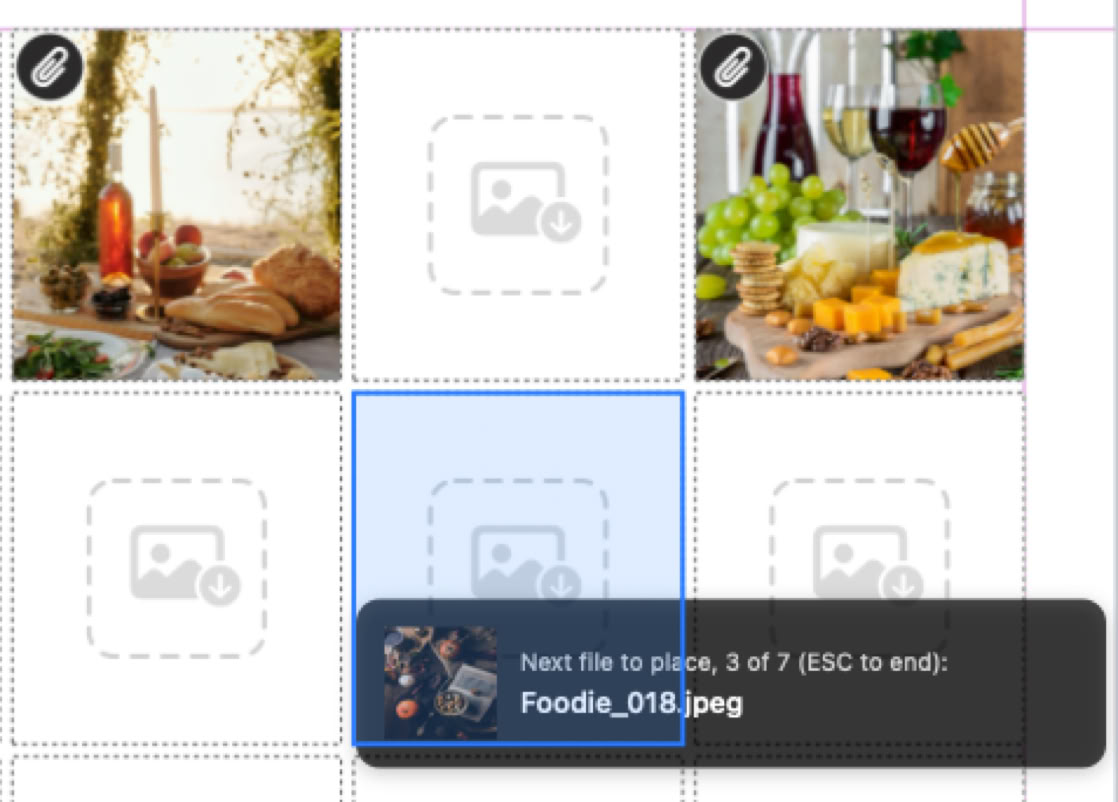
Placing multiple images using the Loaded Cursor.
General Settings > Contact Sheet
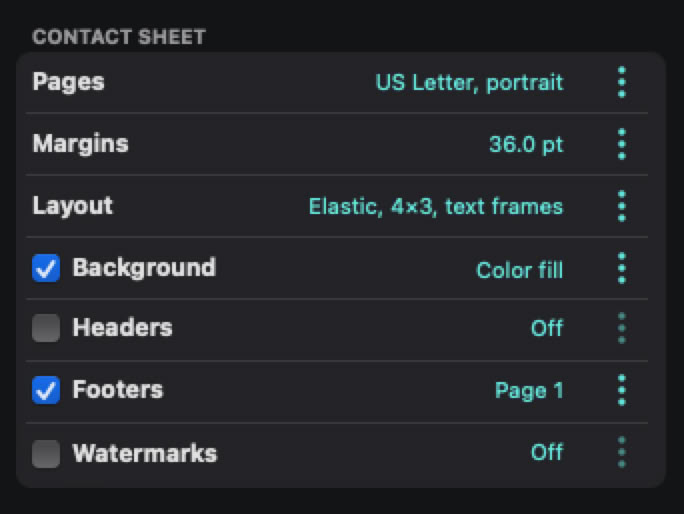
Specify the general settings for the entire contact sheet:
– Pages: Choose the page size (width and height) and orientation (portrait or landscape).
– Margins: Allows you to select page margins. Margins are used by ContactPage Pro to determine the actual area in which the contact sheet will fit (image and text frames cannot extend beyond the page margins).
– Layout: Select the number of rows and columns, whether to add caption frames, the width and height of image and text frames, the caption offset, and the layout type:
– Background: Add a background to all pages. Choose Color Fill or Image as the background type. For Color Fill, select the color you want to use. For Image, select an image file, and the fitting type (Original Size, Scale to Fill Page, Stretch or Tile).
– Headers and Footers: Add headers and footers to each page:
– Watermarks: Add a watermark to each image or page:
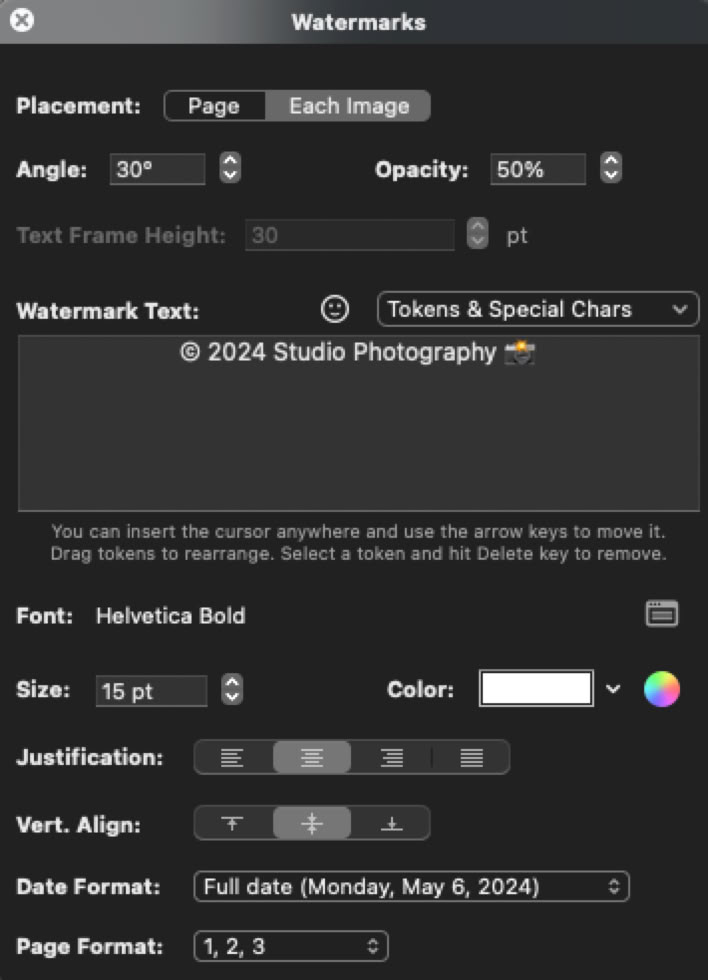
Watermark sample and settings.
Options for General Settings > Contact Sheet.
General Settings > Image Frames
Specify the general settings for all image frames:
– Frame Style: Select the appearance of all image frames:
– Auto Positioning: Specify how images using Auto positioning are placed within their image frames:
– Stroke: Add a stroke to the image frames. Specify the Style (Solid or Dashed), Weight, and Color.
– Drop Shadow: Add a drop shadow to the image frames. Specify its Angle, Color, Offset, Blur, and Opacity.
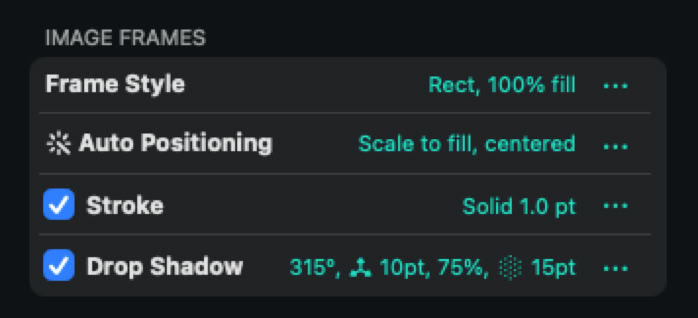
Options for General Settings > Image Frames.
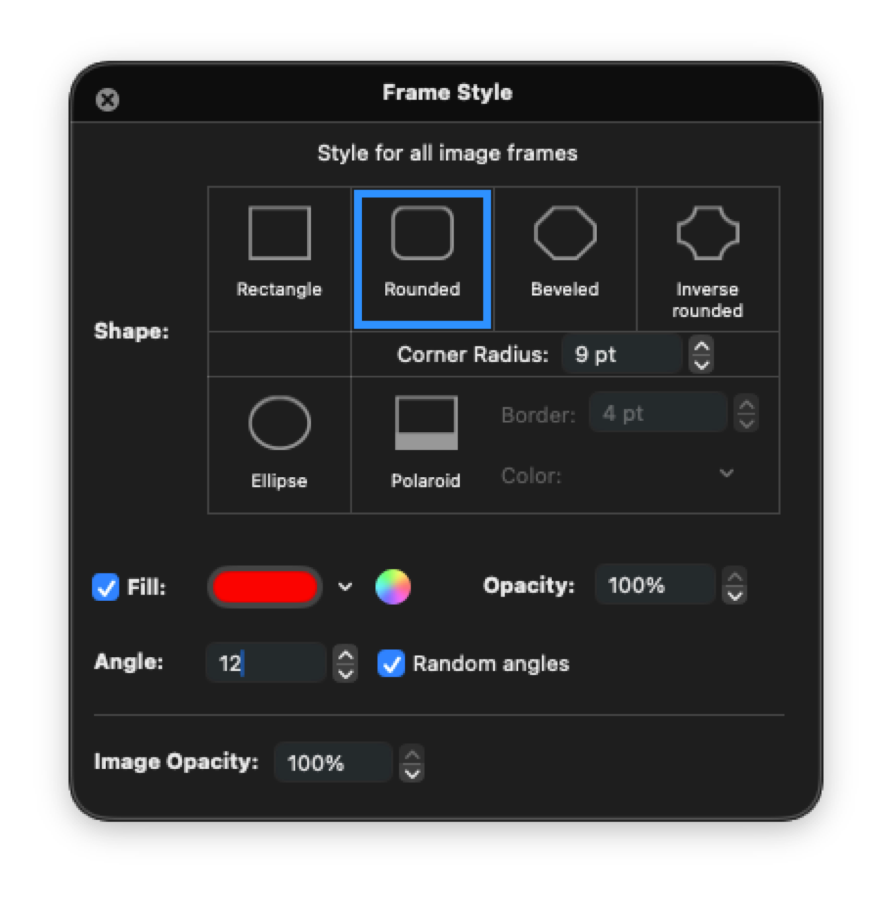
Frame Style settings and sample.
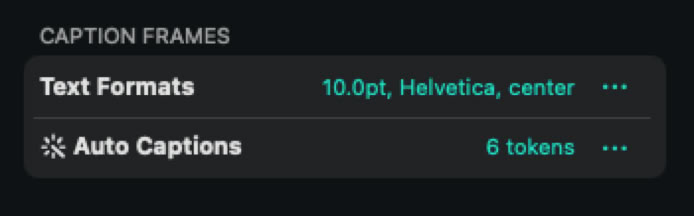
General Settings > Caption Frames
Specify the general settings for all caption frames:
– Text Formats: Specify the text formatting for all captions.
– Auto Captions: Specify how captions are generated for frames using the Automatic caption type. Frames using the Editable caption type are ignored.
Some tokens are variable placeholders (such as Image File > Name, which displays the file name of each image), while others are fixed (such as the En Dash). You can combine as many tokens as you like with special characters or custom text.
Tokens are displayed in blue and behave as a single entity. Use the arrow keys to move between tokens, drag them to rearrange them, or press the Delete key to remove the selected token.
Some tokens, such as image metadata, are left blank if the corresponding information is unavailable.
You can make portions of the caption bold or italic using the Bold Start/End and Italic Start/End tokens (see the example on the right).
Options for General Settings > Caption Frames.
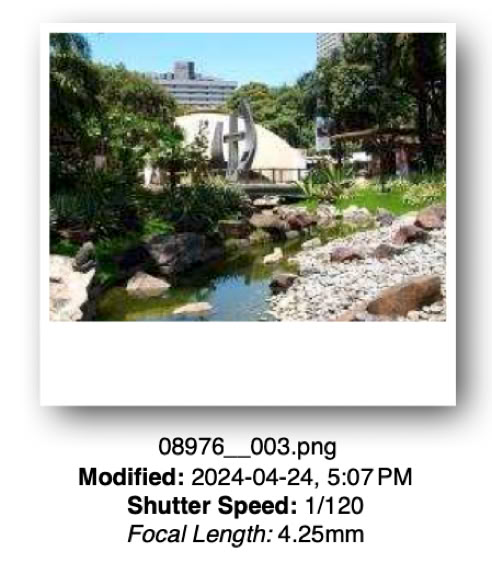
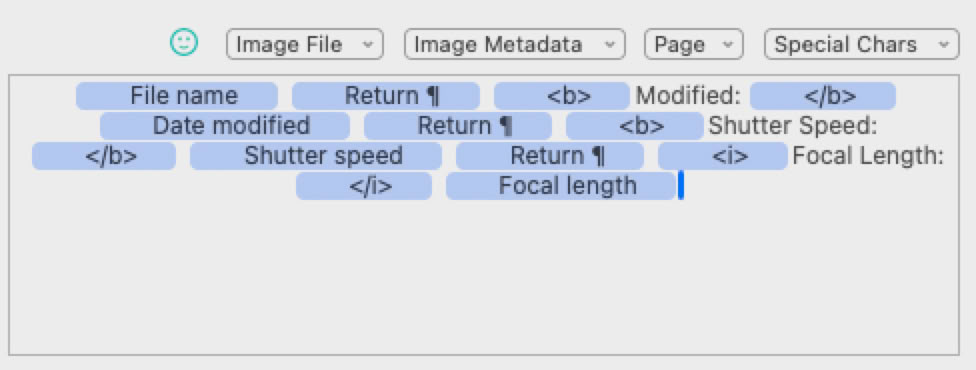
An example of an Automatic caption composed of 13 tokens, including image metadata and the Bold Start/End and Italic Start/End tokens.
Adding and Removing Pages
ContactPage Pro 8 lets you add and remove pages at any time.
– Add Pages: Click the + button to display the Add Pages dialog. You can insert pages at the beginning or end of the document, or before or after the currently selected page. If the document does not currently have enough pages to display all Auto-Flow images, the dialog indicates how many additional pages are required.
If the Automatically add pages when necessary application setting is enabled, ContactPage Pro automatically adds pages as images are added to the Auto-Flow list, ensuring there is enough room for all images.
– Remove Pages: Click the – button to remove the currently selected pages. To select multiple pages, hold Shift or Command while clicking page thumbnails.
– Remove Empty Pages: From the pull-down menu, choose Remove Empty Pages to remove all empty pages at once. An empty page is a page that contains no images.
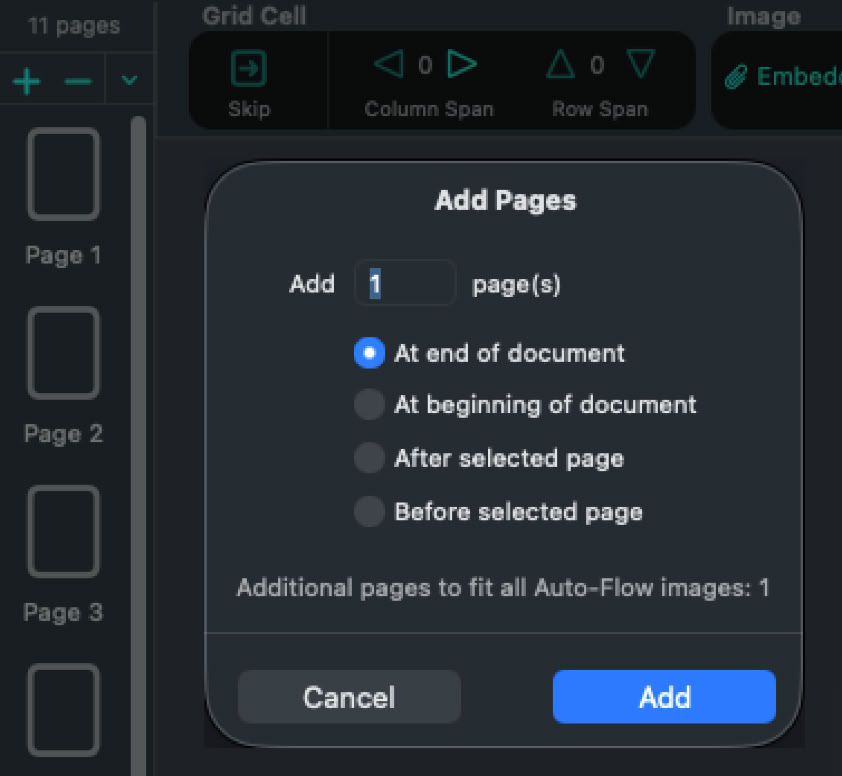
Adding pages to the document.
Exporting Documents
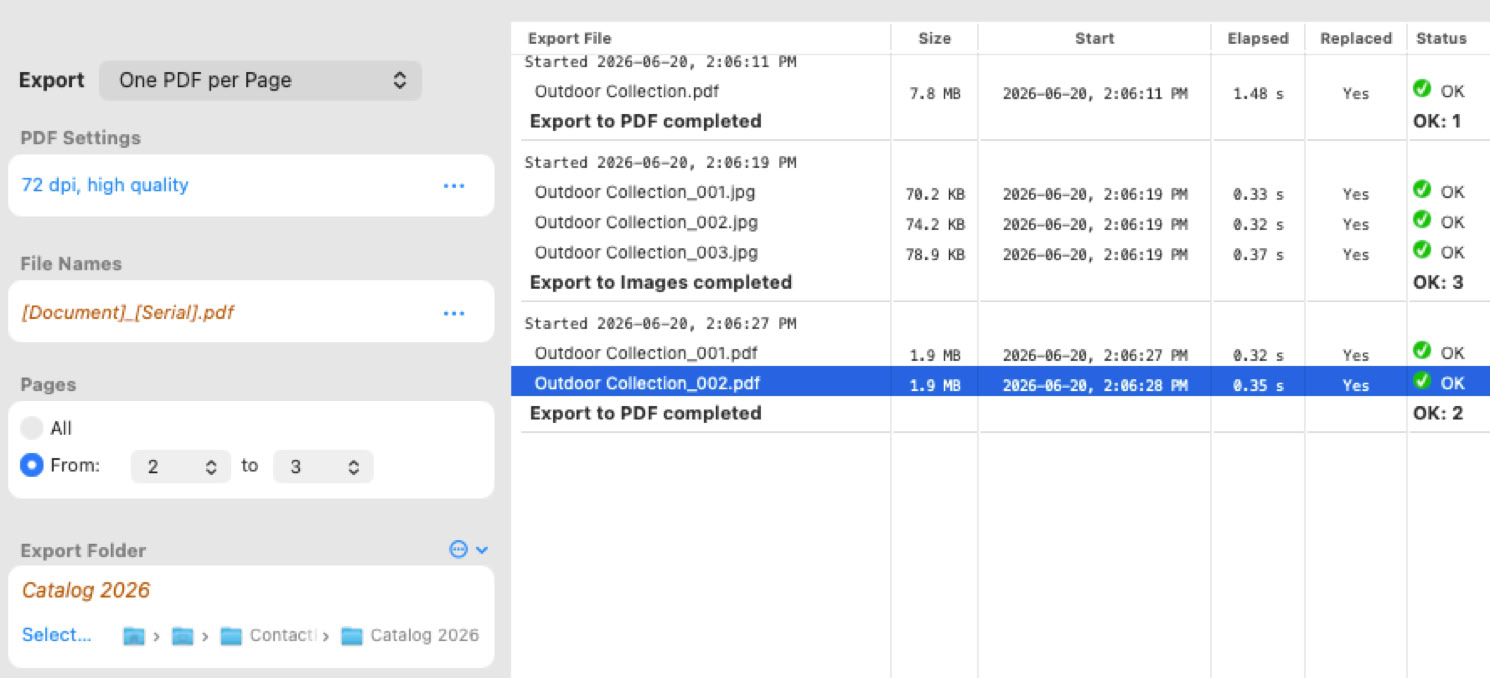
Click the Export button to export the document. The Export window also displays a history of all exported files since ContactPage Pro was last launched.
Specify how to export the document:
– PDF Settings:
– Image Settings:
– Pages: Select All pages or a page range.
– Export Folder: Specify here the folder where all the PDFs or image files will be exported. ContactPage Pro remembers up to 10 recently used export folders.
– Options:
– Export History: The Export History keeps a record of all exports performed since ContactPage Pro was launched. For each export, it displays the exported file name, file size, start time, elapsed time, whether an existing file was replaced, and the export status. When exporting multiple pages, the individual files are grouped under a single export session, together with a summary showing the number of files successfully exported.
The Export window.
Export Again
After exporting a document at least once, choose File > Export Again to repeat the last export using the same settings, file names, page range, PDF/Image settings, and export folder.
The Export dialog is not displayed. ContactPage Pro immediately begins exporting and shows a small progress indicator at the top of the document window.
Export Again is ideal when making repeated changes to a document, allowing you to quickly regenerate the exported files with a single command.
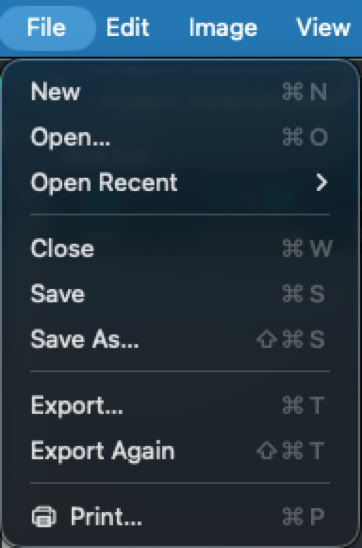
Export Again menu option.
Printing Documents
Click the Print button or select File > Print to print the current document using the standard macOS Print dialog. ContactPage Pro 8 supports all standard printing options, including page ranges, paper size, orientation, scaling, and printer selection.
Under Application Settings, you can choose the print quality used when printing the document. Fast (100 dpi) is recommended for quick proofs and draft prints. Normal (150 dpi) provides an excellent balance between quality and performance, while High (200 dpi) is best suited for final output when maximum image quality is desired.
Application Settings
Application Settings affect the entire application and are shared by all documents. Unlike document settings, they are saved with ContactPage Pro rather than with individual documents.
– Show image dimensions considering resolution: When enabled, ContactPage Pro displays image dimensions using the image resolution (as in ContactPage Pro 6). When disabled, image dimensions are shown in pixels.
– Print Quality: Select the print quality used when printing the document. Fast (100 dpi) is recommended for quick proofs and draft prints. Normal (150 dpi) provides an excellent balance between quality and performance, while High (200 dpi) is best suited for final output when maximum image quality is desired.
– When adding files, import: Choose whether ContactPage Pro imports only supported image files (including PDFs) or all files when adding items to the Auto-Flow list, placing multiple images, or dragging multiple images from the Finder.
– Include files in subfolders when importing images: When enabled, ContactPage Pro also imports supported images found in subfolders when adding folders.
– Automatically add pages when necessary: When enabled, ContactPage Pro automatically adds pages whenever additional space is required to accommodate all Auto-Flow images. This applies when adding images to the Auto-Flow list, when using Place and Embed Multiple Images, or when dragging multiple images or folders from the Finder into the document preview.
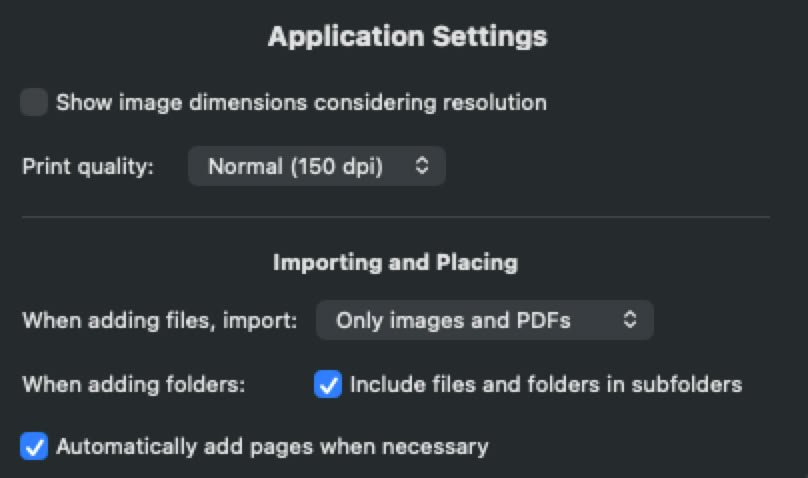
Application Settings.
Version History
8.0.0 – June 22, 2026
• Completely redesigned user interface with an updated Control Bar and streamlined workflow.
• Full localization in English, French, German, and Spanish.
• Loaded Cursor Placement for placing multiple images exactly where you want them.
• Drag and drop images and folders directly from Finder into the preview.
• Full print support with page ranges, paper settings, scaling, and orientation options.
• Simplified conversion between Auto-Flow and Embedded images.
• Added manual positioning support for Auto-Flow images.
• Added editable captions for Auto-Flow images.
• Marquee selection of multiple images directly on the page.
• Added multi-image editing with Undo and Redo support.
• Simplified batch operations for updating multiple images.
• Open Recent menu for quick access to recently used documents.
• Redesigned startup screen for creating new documents.
• Missing images are now highlighted in the Auto-Flow list and preview.
• Added horizontal image flipping for manual images.
• Keyboard shortcuts for scaling, rotating, fitting, flipping, and adjusting manual images.
• Option-drag panning in the preview when zoomed in.
• New export option to include or exclude empty image cells.
• New export option to use the document name when exporting a single PDF.
• Export selected page ranges.
• Built-in Check for Updates support.
• Updated core technologies for improved performance, stability, and reliability.
• Improved memory management for larger documents.
• New preference with print quality settings: Fast, Normal, and High.
• Improved preview accuracy to better match exported and printed output.
• Added support for the latest macOS releases, including macOS 26.
• Many workflow improvements, interface enhancements, bug fixes, and performance optimizations.
©1998–2026 Badia Software
All rights reserved.